|
|
|
PHOTOSHOP 5.5 TUTORIAL(Creating Stained Glass Images)
STEP 1:
STEP 2: Your image must also be in RGB color. If your image is not, increase the color depth (Image, Mode, RGB Color). STEP 3:
(You may have to use your pencil tool Hold down the "Shift" key while making the selections with the wand and hit "Delete" after everything is selected.
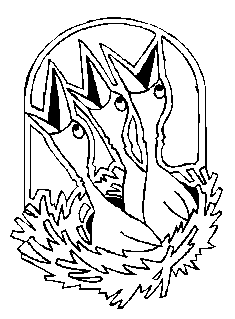
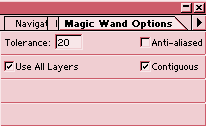
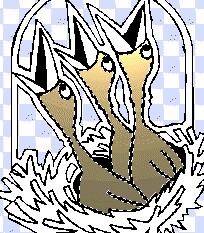
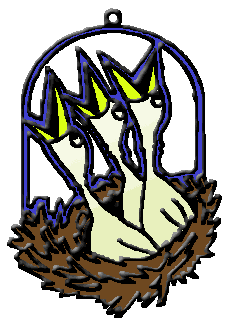
STEP 4: Do this by using your magic wand and holding the "Shift" key down while selecting all the transparent areas. Now expand your selection by 1 pixel (Selections, Modify, Expand) and then hit the delete key. You can check to make sure that you got all the stray white, by creating another layer under your image and filling it with a darker color. This will make any stray white areas stand out like a sore thumb. If there is white showing, expand your selection by another pixel and "delete" to get rid of it. Once your clipart is cleaned up, you're ready to proceed with the fun part! STEP 5: First, I chose the birds. I selected the body of the birds by using my magic wand and the Shift key. (I also had to pixel paint some of the lines with black to close them off, so my wand wouldn't select all the white outside the birds, too.)
STEP 6:
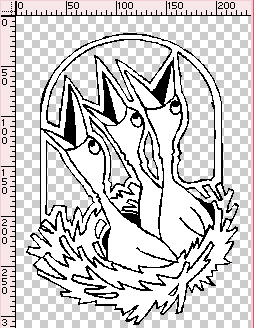
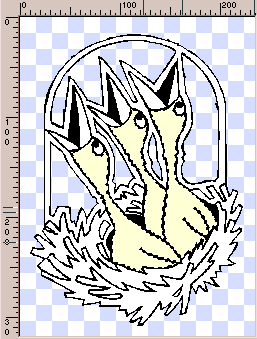
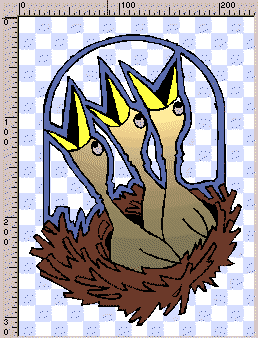
STEP 7: DO NOT SELECT ANY OF THE BLACK AREAS! We will use the black lines and areas as the "solder" that holds the glass pieces together. Here's where my image stands at present:
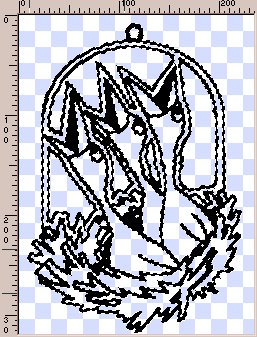
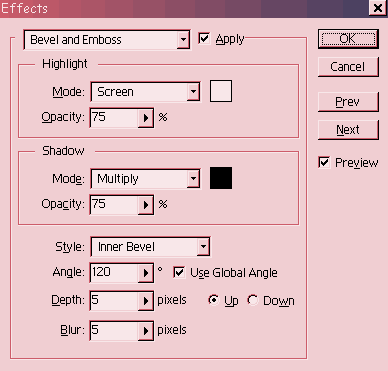
STEP 8: Click on the ellipse selection tool Draw a small circular selection at the very top of your image. Flood fill it with solid black. Contract the selection by 2 pixels (Selection, Modify,
Contract) and hit "Delete". With your mover tool
After you're done with your loop and it's positioned correctly, Merge Visible to make everything one layer again. STEP 10: STEP 11 - For those who need to expand their black
lines: Invert selection, and "delete". Invert again, and "delete". Now you should have just the selection of where you want the black lines to go.
With your top layer and your selection active, flood fill that layer with black.
STEP 12:
STEP 13: You're done! Save your file as a transparent .gif or .psd image, and you have a very nice decoration for a "virtual" window!!
|